|
|
02/08/2017 |
 This is part 6 of a series on grinding: This is part 6 of a series on grinding:
Part 1: Introduction + When To Grind.
Part 2: The Technology of Grinding, Grinders, and Grinding Wheels.
Part 3: Grinding Wheel Chemistry and Nomenclature.
Part 4: Dressing Your Grinding Wheel for Cool Running.
Part 5: Grinding the Hollow.
Part 6: Repairing a Damaged Edge Without Burning the Steel.
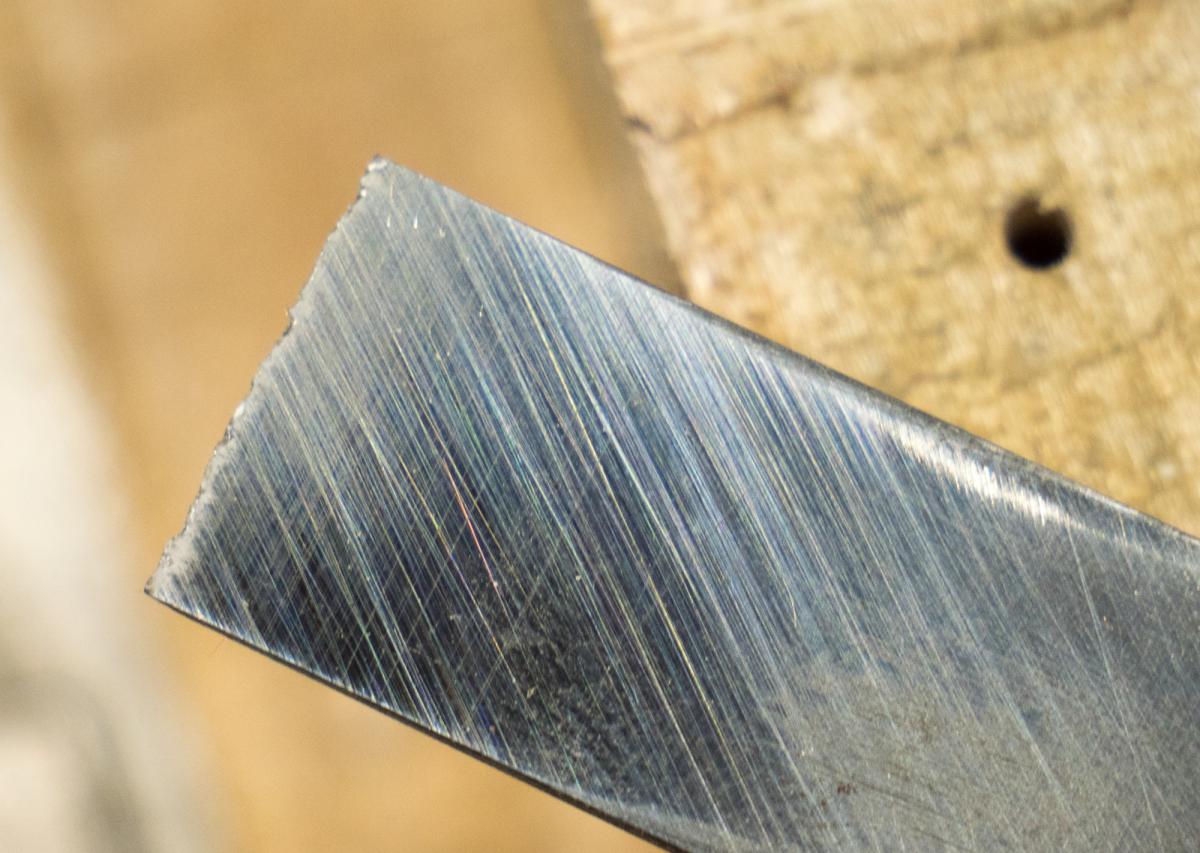
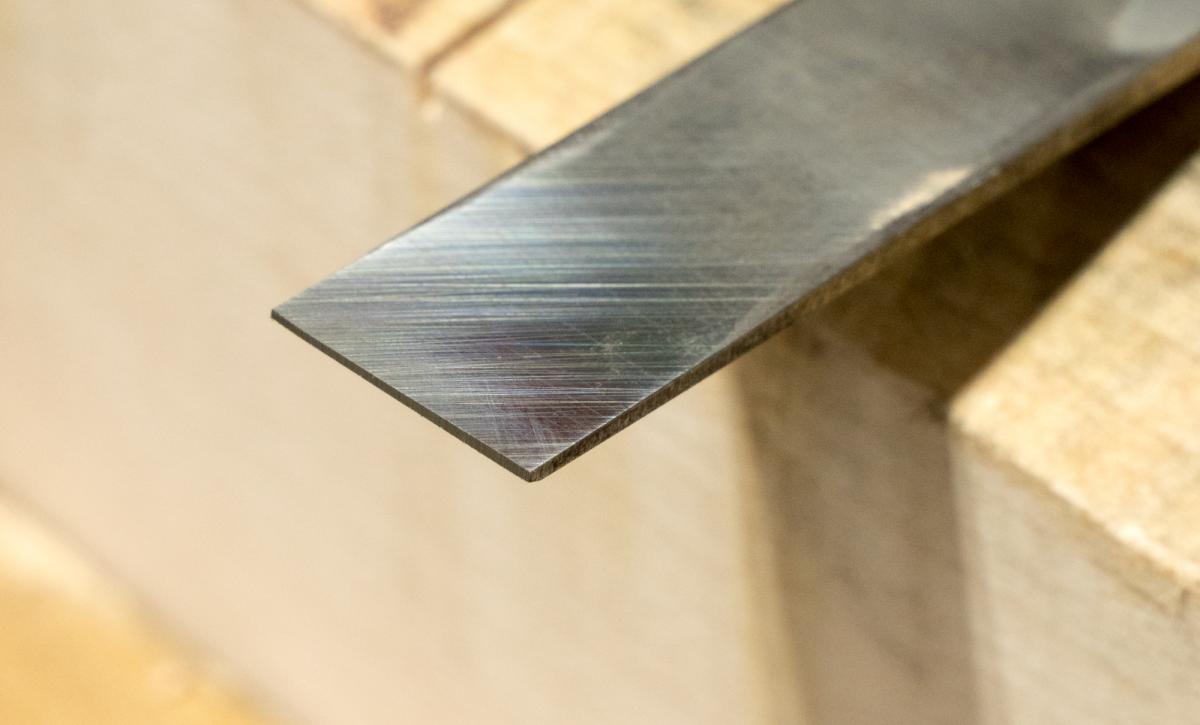
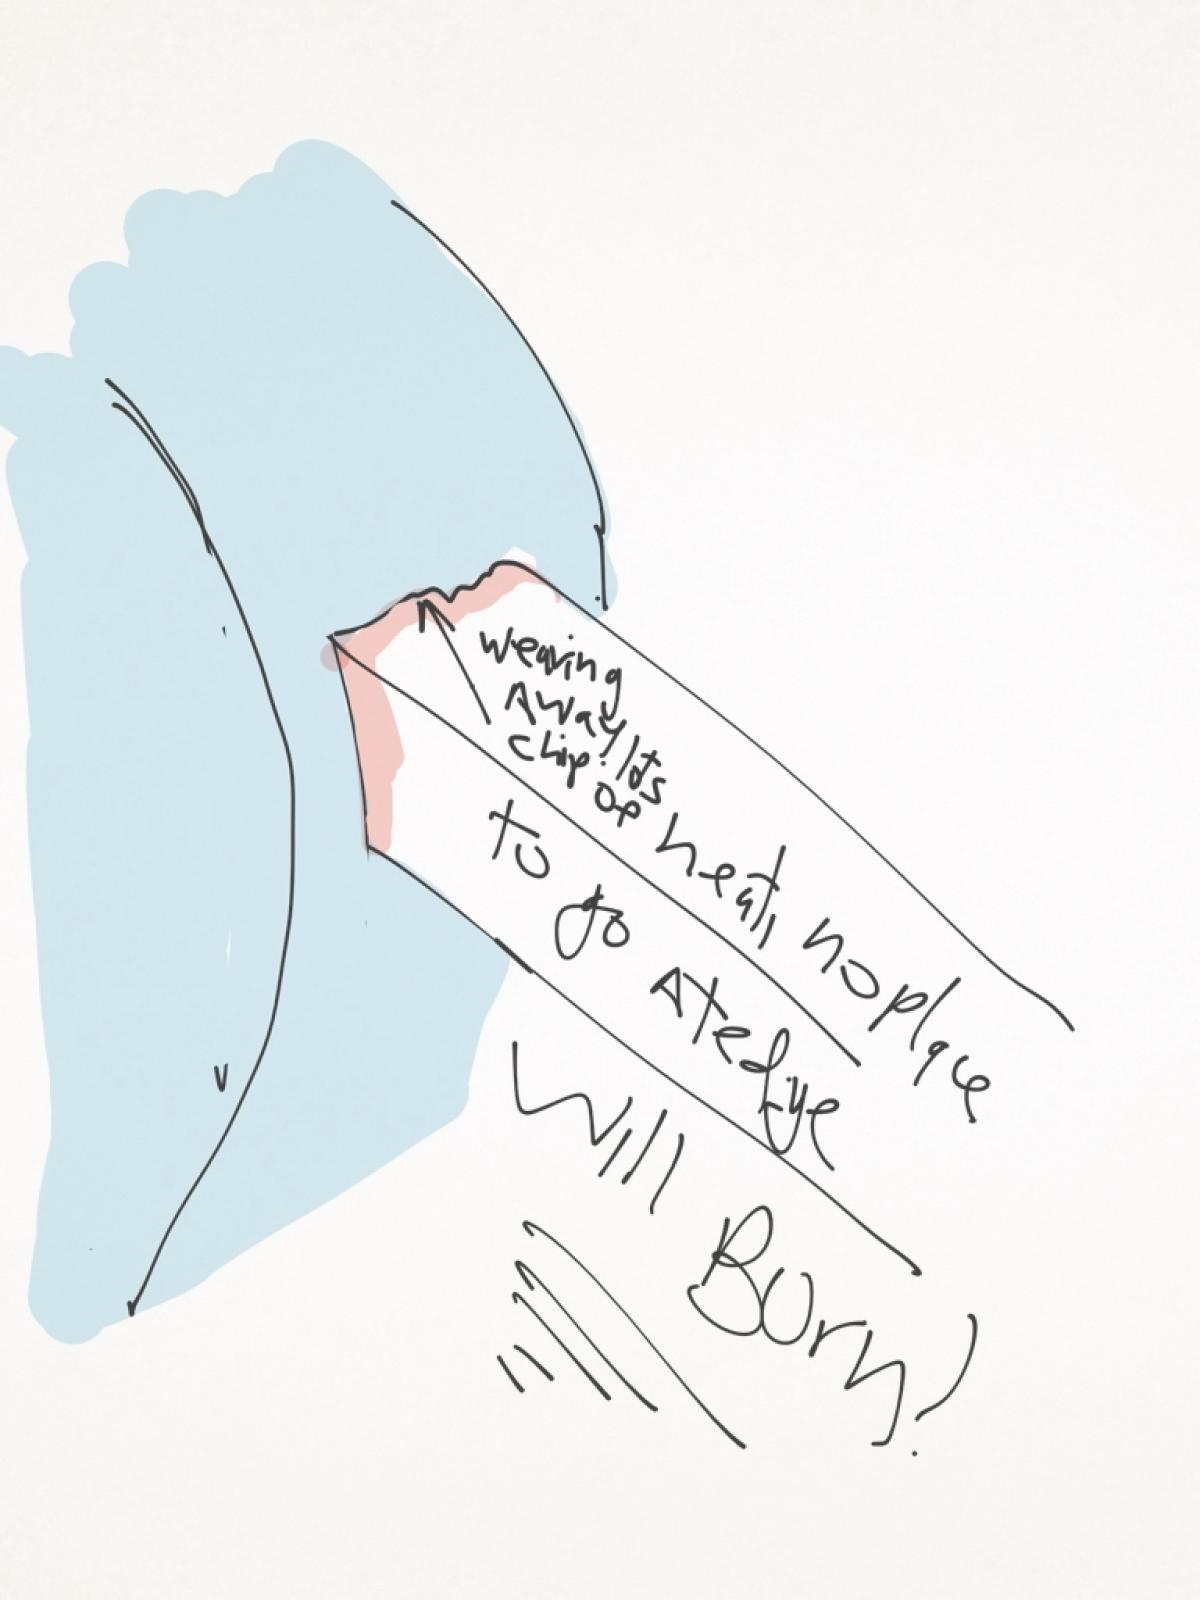 In previous blogs we discussed the need for grinding for a variety of reasons. This final reason is the most unfortunate one: you need to repair a damaged cutting edge. This problem could come about from dropping the chisel (see photo), burning the steel from incorrect grinding, or any number of crises. If we were to grind out the damage by just grinding the bevel like we normally do, we would burn the steel and create more damage. The drawing illustrates the problem. Constant grinding on the bevel heats up the entire bevel. When the damaged tip get heated, the heat has no place to go - especially when the rest of the bevel is heated up too. Even with a cool wheel, this will be a problem. In previous blogs we discussed the need for grinding for a variety of reasons. This final reason is the most unfortunate one: you need to repair a damaged cutting edge. This problem could come about from dropping the chisel (see photo), burning the steel from incorrect grinding, or any number of crises. If we were to grind out the damage by just grinding the bevel like we normally do, we would burn the steel and create more damage. The drawing illustrates the problem. Constant grinding on the bevel heats up the entire bevel. When the damaged tip get heated, the heat has no place to go - especially when the rest of the bevel is heated up too. Even with a cool wheel, this will be a problem.
The solution to this problem is simple. We first level up the tool rest and grind the chisel end square past the damage. As we are only grinding at the tip, not the entire bevel, there is little heat, and the heat has someplace to go (see sketch).
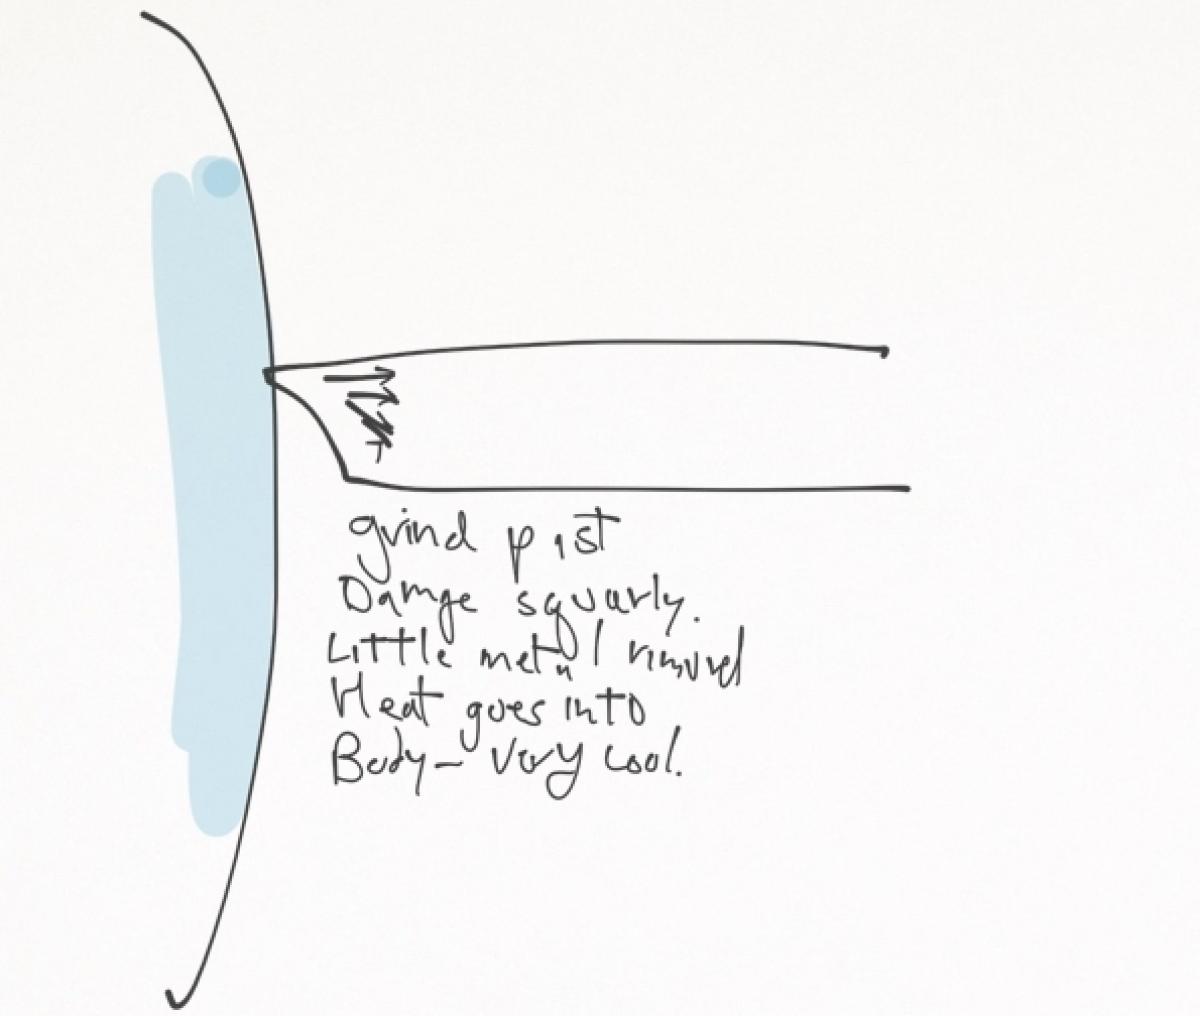 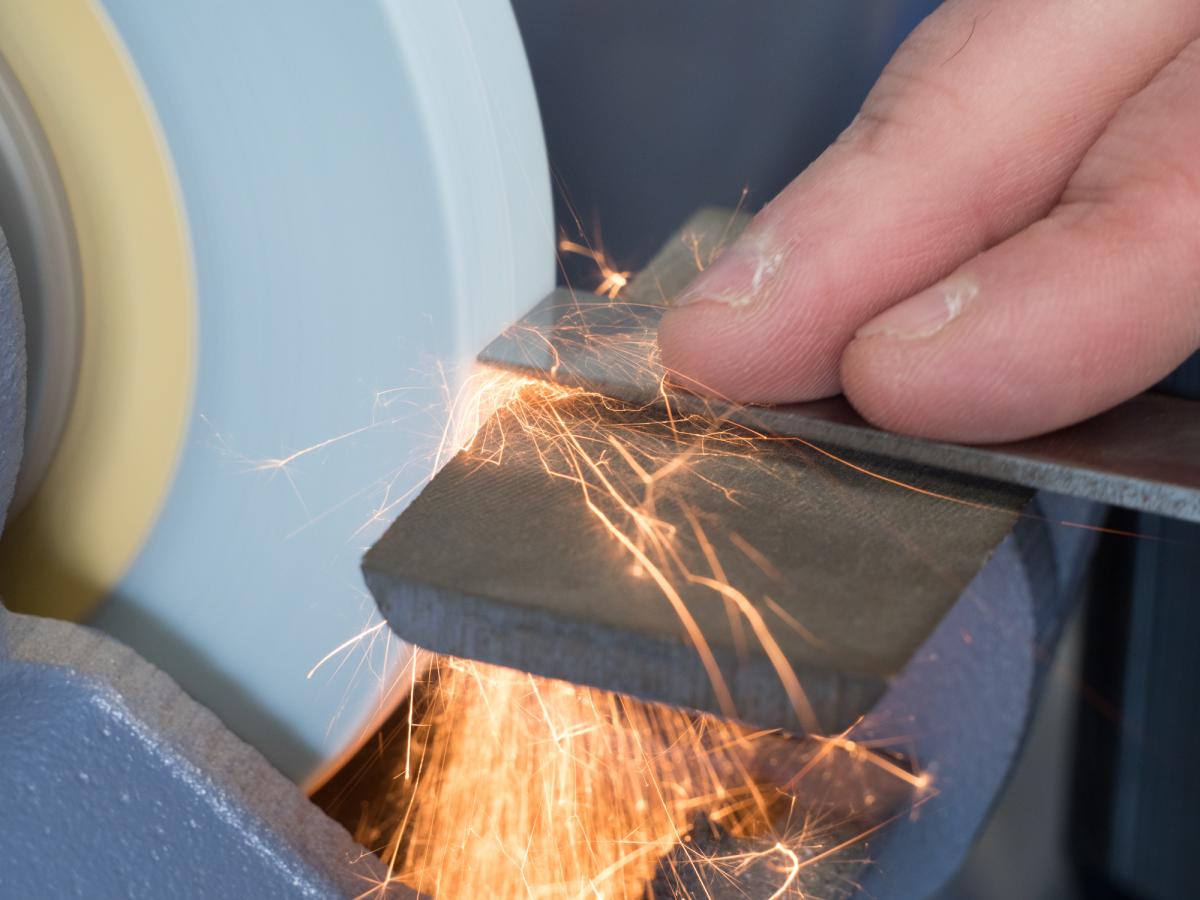
I can free-hand grind pretty square on a crowned wheel, but a scribe line to guide your grinding can be useful. Or after grinding, a few passes on a stone to ensure a straight edge can be helpful. If you are a little off, it doesn't matter. Final honing fixes everything. As you can see in the picture, you want to grind back to an even flat just past the damage on the chisel.
Then we will reset the rest and grind to a wire edge, just like we did before in Part 5. The only difference is that instead of setting the rest to grind in the middle of the bevel, we want to grind a bit towards the back of the bevel to compensate for the blunt edge we just ground. If you are shortening the bevel angle and not really correcting damage, you would also grind a blunt end, but not move the bevel back.
 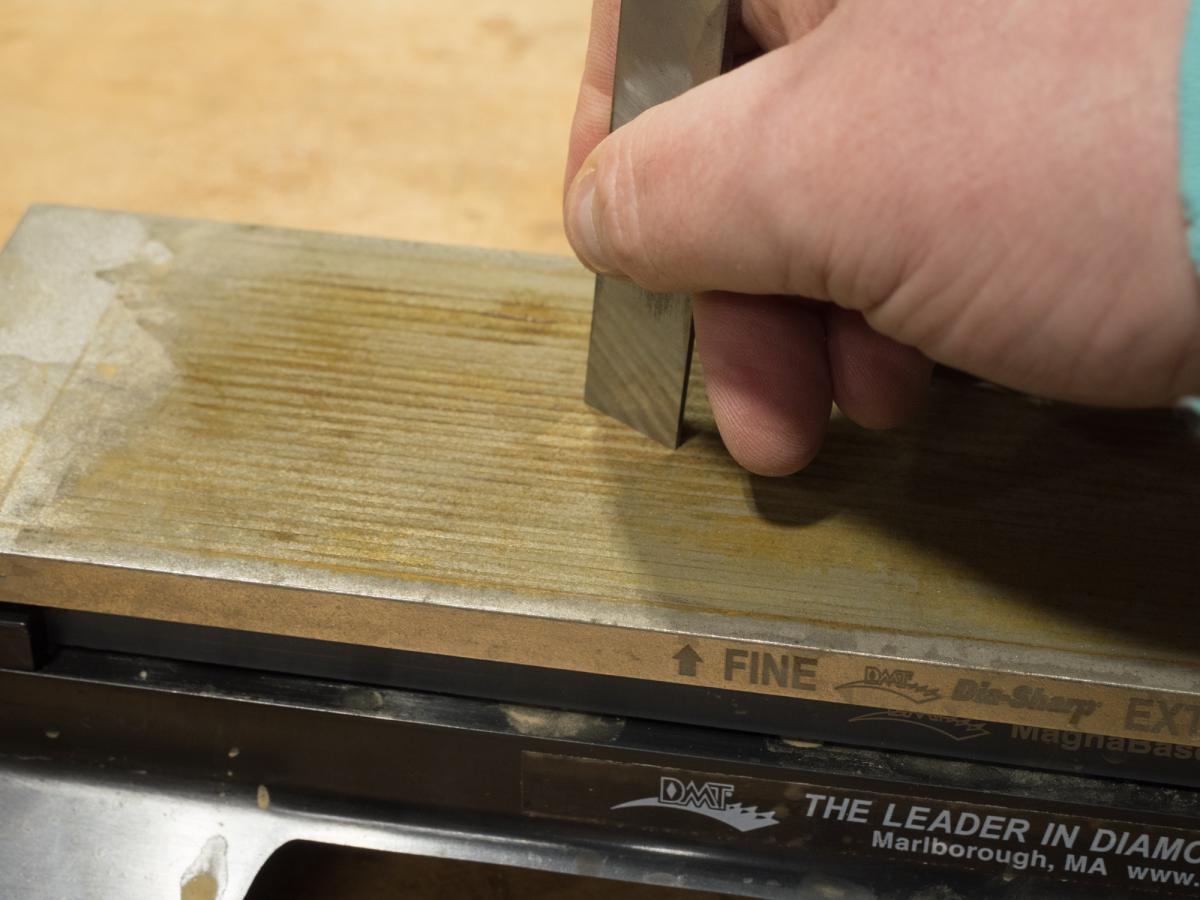
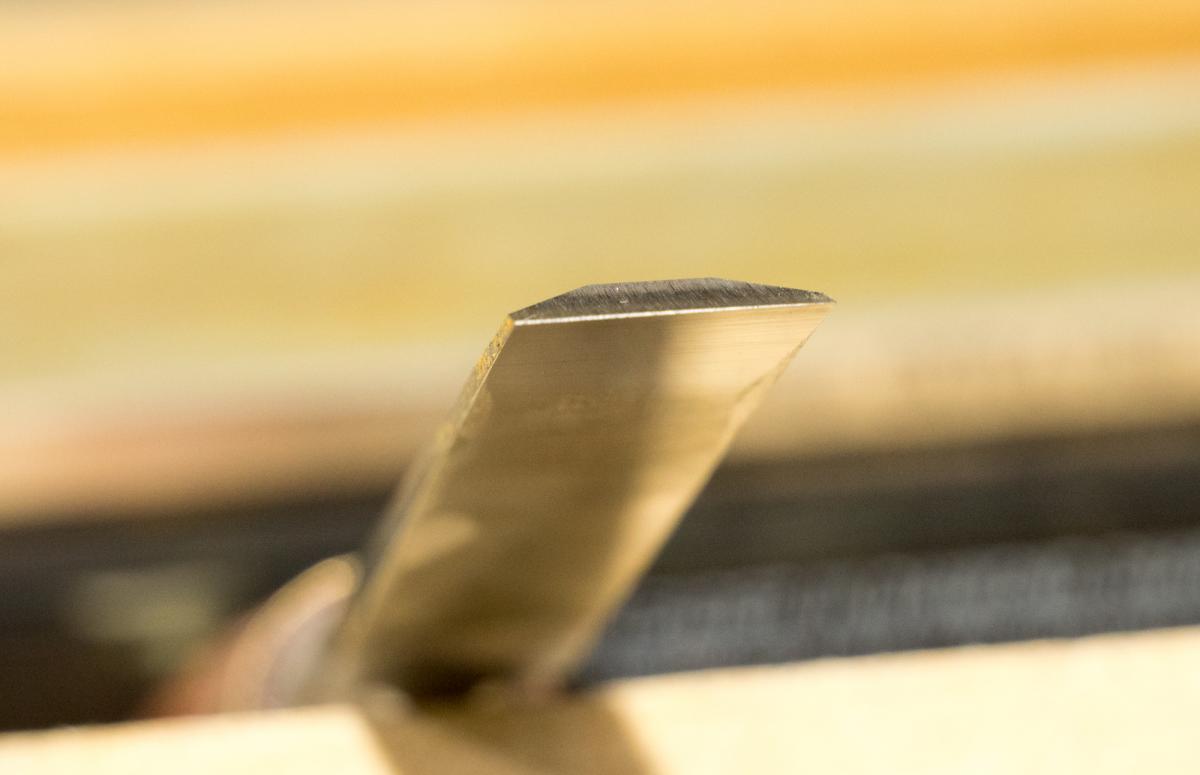
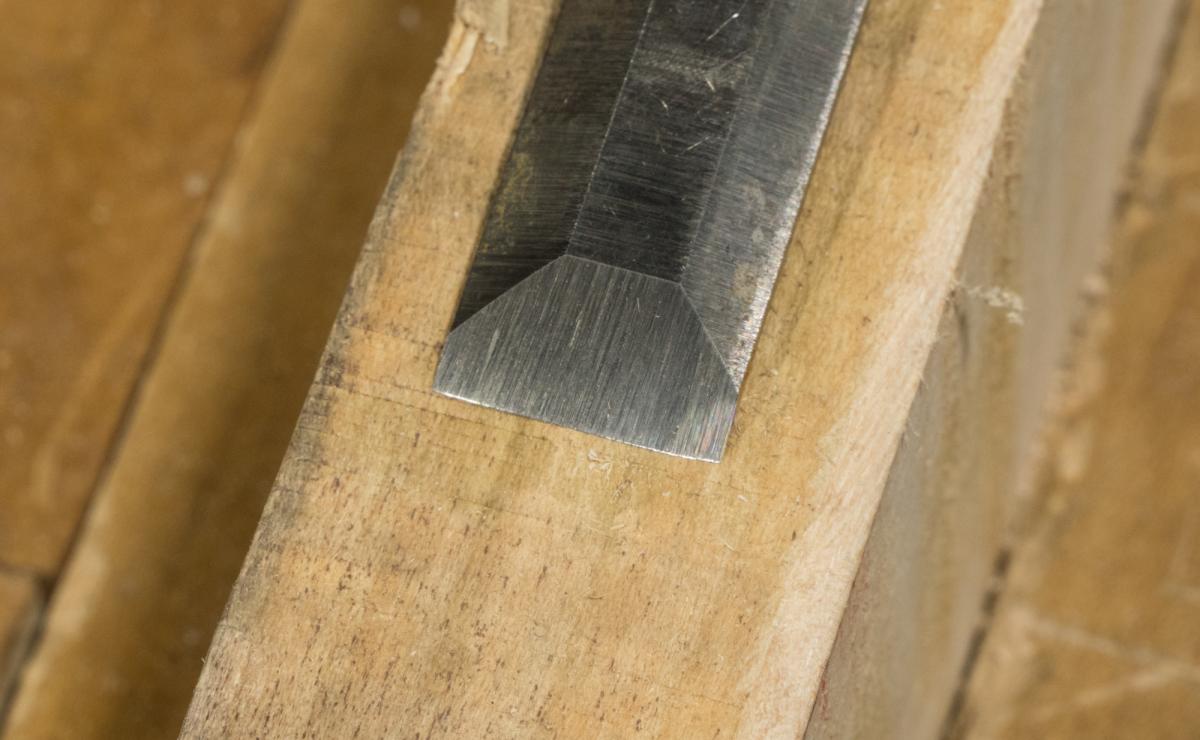
In Part 5, when I ground the chisel I checked to see my bevel disappear, then stopped. In this case, the bevel will disappear fairly quickly, but my work will not be done until I have removed the blunt end. As I grind, I look to see that the flat end starts to disappear. In the first photo, the flat end is about half gone (and uneven). I continue the grinding, with more effort on the thick side, until both sides are even and the edge (seen as a white refection in the light) disappears. Then I am done and ready to hone.
This concludes this series on grinding. I hope it make sense to you and I hope the series encourages you to grind your tools for better geometry.
Here are links to some of the production I have mentioned in the series:
Norton 3X Grinding Wheels
Crowned CBN Grinding Wheels
Fancy Wheel Dressers
Custom Baldor Grinders that we have tricked out with better wheels, balance, and adjustments
Diamond Stones
For instructions on honing your freshly ground edges - click here.
Also searching my blog will turn up a lot of sharpening material from past years.
Finally if you are in the NYC area I will be teaching both grinding and honing in two free classes in March. Please see the events menu for the exact schedule, more classes will show up shortly.
Thanks for reading, Joel |
Join the conversation |
|
 Joel's Blog
 Built-It Blog
 Video Roundup
 Classes & Events
 Work Magazine


 This is part 6 of a series on grinding:
 In previous blogs we discussed the need for grinding for a variety of reasons. This final reason is the most unfortunate one: you need to repair a damaged cutting edge. This problem could come about from dropping the chisel (see photo), burning the steel from incorrect grinding, or any number of crises. If we were to grind out the damage by just grinding the bevel like we normally do, we would burn the steel and create more damage. The drawing illustrates the problem. Constant grinding on the bevel heats up the entire bevel. When the damaged tip get heated, the heat has no place to go - especially when the rest of the bevel is heated up too. Even with a cool wheel, this will be a problem.


Have you discussed lapping?
Dan
Tim
Came back several days later and said none were that short.
Tage said neither was this ten years ago when I bought it.